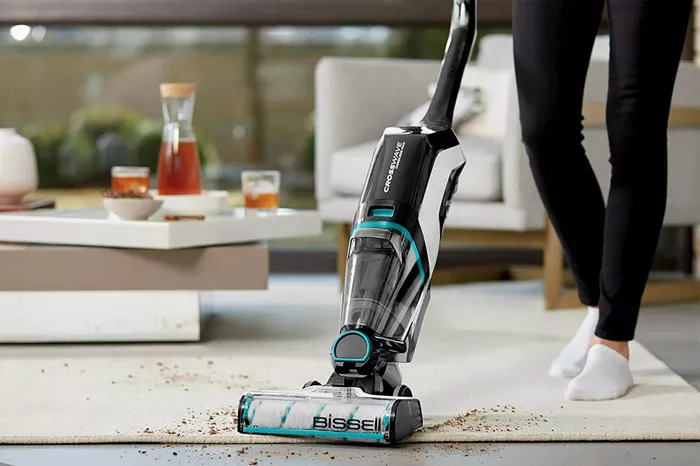
Regular maintenance of your Shark vacuum is essential to ensure its longevity and optimal performance. Neglecting cleaning can lead to reduced suction power, unpleasant odors, and potential damage to internal components. By following proper cleaning procedures, you can keep your Shark vacuum running smoothly for years to come.
Safety Precautions
Before beginning the cleaning process, always remember to unplug your Shark vacuum from the power source to prevent any accidental activation. Additionally, ensure that the vacuum is cool to the touch to avoid burns from hot components.
Tools Needed
Gather the following tools and materials before starting the cleaning process:
1. Dry cloth
2. Warm water
3. Gentle soap
4. Long, thin tool (such as a pipe cleaner or straightened coat hanger)
Step-by-Step Instructions
Emptying the Dust Cup
1. To empty the dust cup, locate the release latch or button on your Shark vacuum. Press or slide it to detach the dust cup from the vacuum body.
2. Carry the dust cup to a trash bin and gently tap or shake it to dislodge any debris trapped inside.
3. Once emptied, wipe the dust cup with a dry cloth to remove any remaining dust or residue.
Filter Cleaning
1. Locate the filters on your Shark vacuum. These may include foam, felt, and HEPA filters.
2. Remove each filter according to the manufacturer’s instructions.
3. Rinse the filters under warm water, taking care to wash away all debris and dirt.
4. Allow the filters to air dry completely before reinserting them into the vacuum. Avoid using heat sources to speed up the drying process, as excessive heat can damage the filters.
Brushroll Maintenance
1. Turn your Shark vacuum over to access the brushroll.
2. Using scissors or a utility knife, carefully cut away any tangled hair or debris wrapped around the brushroll.
3. Use a dry cloth to wipe down the brushroll and remove any remaining dirt or residue.
4. Inspect the bristles for signs of wear or damage, and replace the brushroll if necessary.
Unclogging Hoses
1. Check the hoses and nozzles of your Shark vacuum for any blockages or obstructions.
2. If clogged, use a long, thin tool to gently remove debris from the hoses and nozzles.
3. Avoid using sharp objects that could puncture or damage the hose.
Reassembly Guide
Once all parts have been cleaned and dried thoroughly, reassemble your Shark vacuum according to the manufacturer’s instructions. Ensure that each component is securely in place before use.
Drying Time
It is crucial to let all cleaned parts air dry completely before reassembling the vacuum. Ideally, allow the parts to dry for at least 24 hours to prevent moisture-related issues and maintain optimal performance.
Maintenance Frequency
To keep your Shark vacuum in top condition, follow these recommended cleaning frequencies:
1. Empty the dust cup after each use or when it reaches maximum capacity.
2. Clean the filters every one to three months, depending on usage.
3. Check and clean the brushroll and hoses as needed, especially if you notice a decrease in suction power or unusual noises during operation.
Troubleshooting
1. Low Suction Power: Check for blockages in the hoses, brushroll, or filters. Clean or replace any clogged components.
2. Unusual Noise: Inspect the brushroll for tangled hair or debris. Clean or replace the brushroll if necessary.
3. Strange Odors: Clean the filters and dust cup thoroughly to remove trapped dirt and debris. Consider using vacuum-safe deodorizers to freshen the air.
Expert Tips
1. Regular Maintenance: Consistent cleaning and maintenance will prolong the life of your Shark vacuum and ensure optimal performance.
2. Avoid Harsh Chemicals: Use only gentle soap and water to clean the vacuum components. Harsh chemicals can damage delicate parts.
3. Inspect Regularly: Periodically check your Shark vacuum for signs of wear or damage, and address any issues promptly to prevent further damage.
Conclusion
Proper cleaning and maintenance are vital for keeping your Shark vacuum in top condition. By following the step-by-step instructions and safety precautions outlined in this guide, you can ensure optimal performance and longevity for your vacuum cleaner. Remember to clean the dust cup, filters, brushroll, and hoses regularly, and don’t hesitate to seek professional assistance if you encounter any difficulties. With proper care, your Shark vacuum will continue to provide reliable cleaning power for years to come.

