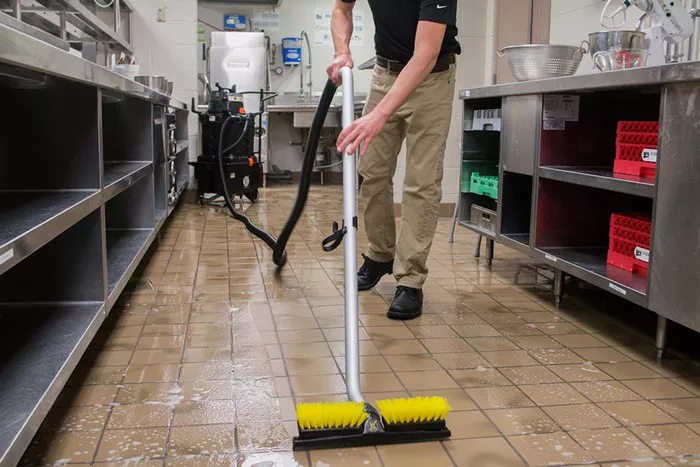
Cleaning the floor is an essential task that not only keeps your home looking fresh but also ensures a healthy living environment. While it might seem straightforward, effective floor cleaning requires a methodical approach to achieve the best results. This article outlines a comprehensive five-step process to clean various types of flooring, ensuring they remain in top condition.
Step 1: Preparation
Clear the Area
Before you start cleaning, remove all items from the floor. This includes furniture, rugs, toys, and any other objects that might obstruct your cleaning. Clearing the area allows you to clean thoroughly without missing any spots.
Move Furniture Carefully: When moving heavy furniture, use furniture sliders or lift with proper technique to avoid scratching the floor.
Dust and Debris Removal
Begin by removing dust and debris. Use a broom or a vacuum cleaner with a floor attachment. This step is crucial as it prevents dirt from scratching the floor during the cleaning process.
Sweep or Vacuum Regularly: For households with pets or high foot traffic, consider sweeping or vacuuming daily. This prevents the buildup of dust and debris.
Identify the Floor Type
Different floor types require different cleaning methods and products. Identify whether your floor is hardwood, laminate, tile, vinyl, or carpet. Knowing your floor type helps in selecting the appropriate cleaning solutions and techniques.
Check Manufacturer’s Guidelines: Always refer to the manufacturer’s cleaning instructions for your specific flooring to avoid damage.
Step 2: Spot Cleaning
Identify Stains and Spots
After removing loose dirt, inspect the floor for stains and spots. Addressing these early prevents them from becoming permanent.
Use the Right Spot Cleaner: Different stains require different cleaning agents. For example, grease stains on tile may need a degreaser, while a water-based stain on hardwood might require a gentle wood cleaner.
Apply the Cleaner
Apply the spot cleaner directly to the stain. Let it sit for the recommended time as indicated on the product label. This helps to break down the stain for easier removal.
Test in an Inconspicuous Area: Before applying any cleaner, test it in a small, hidden area to ensure it does not damage or discolor the floor.
Blot and Rinse
Use a clean cloth to blot the stain. Avoid rubbing as it can spread the stain and damage the floor. After blotting, rinse the area with a damp cloth to remove any residue from the cleaning product.
Repeat if Necessary: Some stubborn stains may require multiple applications. Be patient and repeat the process as needed.
Step 3: General Cleaning
Choose the Right Cleaning Solution
Based on your floor type, select an appropriate cleaning solution. Avoid using harsh chemicals that can damage the floor’s finish.
Homemade vs. Commercial Cleaners: You can use homemade solutions like vinegar and water for many floors, but ensure it’s suitable for your specific flooring.
Mopping Techniques
Fill a bucket with warm water and your chosen cleaning solution. Dip your mop into the solution, then wring it out well to avoid excess water on the floor.
Mop in Sections: Work in small sections to ensure thorough cleaning. This also allows you to manage water use and prevent oversaturation.
Drying the Floor
After mopping, use a dry mop or a clean, dry cloth to wipe down the floor. This helps to remove any remaining moisture and prevent water damage, especially on wood and laminate floors.
Ensure Proper Ventilation: Open windows and doors to facilitate air circulation and speed up the drying process.
See Also: Is It Okay to Mop the Floor with Just Water?
Step 4: Deep Cleaning
Periodic Deep Cleaning
Deep cleaning is essential for maintaining the longevity and appearance of your floor. Depending on the floor type and traffic, this could be once a month or a few times a year.
Steam Cleaning: For tile and sealed floors, steam cleaning is effective in removing embedded dirt and grime. Ensure your floor can handle the heat and moisture before using a steam cleaner.
Using Floor Buffers
For hardwood and tile floors, a floor buffer can restore shine and remove stubborn dirt. Follow the manufacturer’s instructions for best results.
Polishing Hardwood Floors: After buffing, consider applying a polish to hardwood floors to enhance their shine and protect the surface.
Deep Carpet Cleaning
For carpeted areas, deep cleaning involves shampooing or using a carpet cleaner. This removes deep-seated dirt and allergens that regular vacuuming cannot reach.
Hire Professionals if Needed: For large carpeted areas or significant stains, professional cleaning services can be very effective.
Step 5: Maintenance
Regular Sweeping and Vacuuming
Regular maintenance is key to keeping floors clean. Sweeping or vacuuming frequently prevents dirt from accumulating and scratching the surface.
Use Floor Mats: Place mats at entry points to trap dirt and prevent it from spreading throughout the house.
Protective Measures
Use furniture pads under legs to prevent scratches and damage to the floor. Also, avoid dragging heavy items across the floor.
Rug Rotation: Rotate rugs periodically to ensure even wear and prevent areas of the floor from fading or getting worn out.
Address Spills Immediately
Clean up spills as soon as they occur to prevent staining and damage. Use a soft cloth to blot spills and follow up with appropriate cleaners if necessary.
Keep Cleaning Supplies Handy: Having a basic cleaning kit ready makes it easier to address spills and stains promptly.
Conclusion
Cleaning floors may seem like a simple task, but following a structured approach ensures thorough and effective results. By preparing the area, spot cleaning, conducting general cleaning, performing periodic deep cleans, and maintaining the floor, you can keep your floors looking their best and extend their lifespan. Whether you have hardwood, tile, carpet, or laminate, these five steps will help you achieve a cleaner, healthier home environment.

