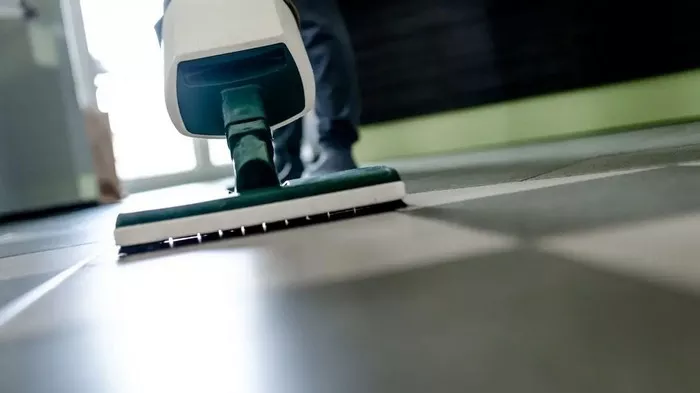
The squeegee on a floor scrubber is a pivotal component in the cleaning process, responsible for effectively removing water and debris from the floor surface after scrubbing. Its proper adjustment is paramount to achieving optimal cleaning results, ensuring safety, and maintaining the integrity of your floors. A well-adjusted squeegee not only enhances cleaning efficiency but also prevents streaks, puddles, and potential damage to the flooring material. In this comprehensive guide, we will walk you through the intricate process of adjusting the squeegee on your floor scrubber, equipping you with the knowledge to master this essential maintenance task.
Step-by-Step Guide to Adjusting the Squeegee
1. Inspect the Squeegee Blades: Begin by conducting a thorough inspection of the squeegee blades. Check for any signs of wear, tear, or damage such as nicks, cuts, or uneven edges. If you notice any such issues, it’s imperative to replace the blades before proceeding with the adjustment to ensure optimal performance.
2. Evaluate Blade Angle: The angle at which the squeegee blades make contact with the floor surface is critical for effective water removal. Ideally, the blades should be positioned at a slight angle, typically around 45 degrees, to facilitate efficient water pickup. Use a protractor or angle finder to accurately measure and adjust the blade angle as needed.
3. Adjust Blade Height: Most floor scrubbers offer the flexibility to adjust the height of the squeegee blades to accommodate different flooring types and surface conditions. Consult the user manual of your specific machine to locate the adjustment mechanism for blade height. Adjust the height accordingly to ensure proper contact between the blades and the floor surface.
4. Test the Adjustment: Once you have made the necessary adjustments to the squeegee blades, it’s time to put them to the test. Engage the scrubbing function of the machine and observe the performance of the squeegee. Pay close attention to how effectively it removes water and debris from the floor surface. If necessary, fine-tune the adjustments until optimal cleaning performance is achieved.
5. Routine Maintenance: Regular maintenance of the squeegee blades is essential for prolonging their lifespan and ensuring consistent cleaning performance. Establish a maintenance schedule that includes routine inspection of the blades for wear and tear. Replace worn or damaged blades promptly to prevent compromised cleaning efficiency.
FAQs
Q1: How frequently should I adjust the squeegee on my floor scrubber?
A1: The frequency of squeegee adjustment depends on several factors, including the type of flooring being cleaned, the condition of the squeegee blades, and the frequency of machine usage. As a general guideline, it’s recommended to inspect and adjust the squeegee before each cleaning session, especially if you notice any issues with cleaning performance.
Q2: What should I do if the squeegee leaves streaks or puddles on the floor after scrubbing?
A2: If the squeegee is leaving streaks or puddles behind, it may indicate improper adjustment or blade wear. First, check the angle and height of the blades to ensure they are positioned correctly. Additionally, inspect the blades for signs of wear or damage and replace them if necessary. Fine-tune the adjustments as needed to achieve optimal cleaning results.
Q3: Can I perform squeegee adjustment on my floor scrubber myself, or should I seek professional assistance?
A3: While adjusting the squeegee on a floor scrubber is typically a straightforward task, some individuals may prefer to seek professional assistance, especially if they are unfamiliar with the process or lack confidence in their abilities. However, with proper guidance and adherence to manufacturer instructions, most users should be able to perform the adjustment themselves. If in doubt, consult the user manual or contact a qualified technician for assistance.

