Maintaining a clean and sparkling floor not only enhances the aesthetic appeal of your space but also contributes to a healthier environment. After scrubbing your floor, it’s essential to follow through with proper care to ensure longevity and preserve its pristine appearance. In this guide, we delve into the crucial steps and techniques to meet your needs effectively.
Rinsing and Drying: The Cornerstone of Floor Maintenance
After the vigorous scrubbing process, the next step is equally critical: rinsing and drying. This phase not only eliminates any residual cleaning solution but also prevents streaks and residue buildup, ensuring a flawless finish.
Thorough Rinsing:
1. Use clean water and a mop to rinse the entire area systematically.
2. Ensure the water is changed regularly to maintain cleanliness.
3. Pay particular attention to corners and edges, where dirt and grime often accumulate.
Proper Drying:
1. After rinsing, allow the floor to air dry or use a dry mop or cloth to remove excess moisture.
2. Avoid walking on the damp floor to prevent footprints or smudges until it’s completely dry.
3. Ventilation aids in quicker drying, especially in enclosed spaces.
Choosing the Right Equipment: Tailoring Tools to Floor Types
Selecting the appropriate mop and bucket is pivotal in optimizing cleaning efficiency and safeguarding the integrity of your flooring material.
Mop Selection:
1. For tiled flooring with more texture, opt for string mops, as they effectively reach into crevices and grout lines.
2. Smoother floors like laminate benefit from sponge mops, which glide seamlessly and absorb excess moisture.
Bucket Consideration:
1. Choose a bucket size that matches the area to be cleaned, ensuring convenience and minimizing the need for frequent refills.
2. Some buckets come with wringer attachments, facilitating efficient water removal from the mop.
Detergent Compatibility:
1. Verify that the cleaning detergent is compatible with your specific floor type to prevent damage or discoloration.
2. Specialized cleaners tailored to various flooring materials are readily available in the market.
Vacuuming Surface Dirt: Preparing for Mopping Success
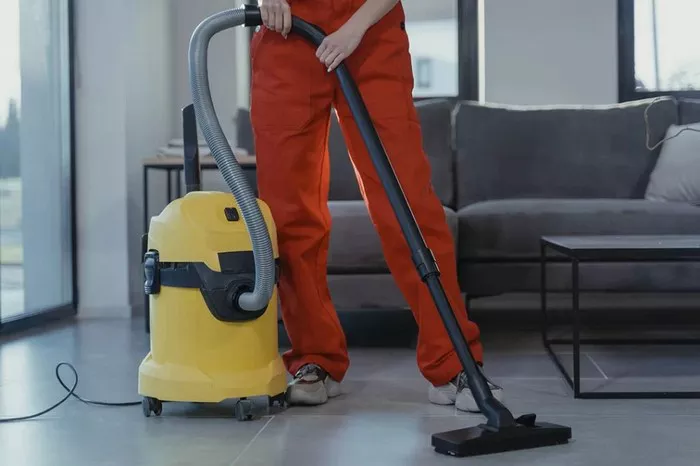
Before proceeding with mopping, it’s imperative to eliminate loose dirt and debris through thorough vacuuming. This preparatory step not only enhances cleaning efficacy but also prevents scratching caused by abrasive particles.
Vacuum Cleaner Selection:
1. Choose a vacuum cleaner equipped with appropriate attachments suitable for your floor type.
2. Adjustable suction settings prevent damage to delicate surfaces while effectively capturing debris.
Methodical Cleaning:
1. Start from the farthest corner of the room and gradually work towards the exit to avoid retracing steps.
2. Pay attention to high-traffic areas and spots prone to accumulation, such as under furniture and along baseboards.
Using the Right Cleaning Solution: Unlocking the Power of Proper Dilution
The effectiveness of your cleaning solution plays a pivotal role in achieving spotless floors. Diluting the detergent correctly and using suitable additives can make a substantial difference in cleaning outcomes.
Optimal Dilution:
1. Mix your detergent with hot water for enhanced cleaning power, as hot water effectively dissolves dirt and grime.
2. Avoid using excessive detergent, as it can leave behind sticky residues and necessitate additional rinsing.
Alternative Solutions:
1. Vinegar, a household staple renowned for its cleaning properties, can be diluted (1/2 cup per gallon of warm water) for a cost-effective and eco-friendly cleaning solution.
2. Commercial cleaning products formulated specifically for your floor type offer convenience and targeted cleaning benefits.
Proper Technique: Mastering the Art of Mopping
Mopping may seem straightforward, but employing the correct technique is paramount for optimal results. A systematic approach ensures thorough coverage while minimizing the risk of over-saturation and potential damage.
Mop Preparation:
1. Wring out the mop thoroughly to achieve the ideal level of dampness, ensuring effective cleaning without excess moisture.
2. Excessively wet mops can saturate the floor, prolonging drying time and potentially causing water damage.
Sectional Mopping:
1. Divide the floor into manageable sections and focus on one area at a time to maintain control and prevent missed spots.
2. Utilize overlapping strokes to ensure comprehensive coverage and uniform cleaning results.
Post-Mopping Inspection:
1. After completing the mopping process, conduct a visual inspection to identify any overlooked areas or stubborn stains requiring additional attention.
2. Touch up any missed spots promptly to maintain consistency across the entire floor surface.
Conclusion
In conclusion, post-scrubbing floor care is a multifaceted process that demands attention to detail and adherence to best practices. By incorporating proper rinsing and drying techniques, selecting the right equipment, diligently vacuuming surface dirt, utilizing the correct cleaning solution, and mastering the art of mopping, you can achieve impeccable results while safeguarding the integrity of your floors. Embrace these guidelines to elevate your floor maintenance routine and revel in the pristine beauty of your surroundings.

